
Mounting your TV on the wall is a great way to save space, improve viewing angles, and create a clean, modern look in your living space. However, proper installation is crucial to ensure safety and durability. Follow this step-by-step guide to securely mount your TV on the wall.
Materials Needed
Before you begin, gather the necessary tools and materials:
- Wall mount bracket
- Level
- Screwdrivers
- Stud finder
- Drill
Step-by-Step Installation Process
1. Choose the Right Location
Decide where you want to mount your TV. Consider factors like:
- Viewing height and angle
- Distance from seating areas
- Proximity to power outlets and cable connections
Use a stud finder to locate the wall studs. Mounting your TV on studs ensures better weight support and prevents wall damage. You can learn more about using a stud finder here.
2. Mark the Drill Holes
Hold the wall mount bracket against the wall at the desired location. Use a level to ensure the bracket is straight, then mark the drill holes with a pencil.
3. Drill the Pilot Holes
Using a drill, make pilot holes in the marked locations. Ensure you’re drilling into the studs for maximum support. If you’re mounting on drywall, you’ll need wall anchors for added stability.
4. Attach the Wall Mount Bracket
Align the wall mount bracket with the drilled holes and secure it using screws and a screwdriver. Double-check with a level to ensure it’s straight.
5. Attach the TV Mount to the Back of the TV
Most TVs have VESA mounting holes at the back. Attach the mounting brackets to these holes using the provided screws. For more details on VESA compatibility, visit this guide.
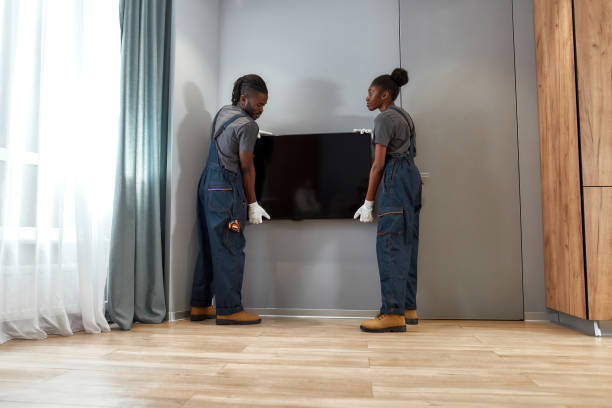
6. Hang the TV on the Wall Mount
Carefully lift the TV and attach it to the wall bracket. This step may require assistance, especially for larger TVs. Once secured, ensure the TV is properly locked into place.
7. Connect the Cables
Attach your HDMI cables, power cords, and other necessary connections. Use cable organizers or a concealed wiring kit for a clean look.
Final Checks and Adjustments
- Ensure the TV is level and properly secured.
- Test the TV to make sure all inputs and outputs work correctly.
- Adjust the tilt or swivel feature (if available) for optimal viewing angles.
By following these steps, you’ll have a professionally mounted TV that enhances your space and provides an immersive viewing experience.
For more TV mounting tips, check out this detailed guide from CNET.

